Now a days, we all dream to shoot instagram-worthy photos, like a pro.
We all want the perfect shot, but we don’t want to the struggle, or the need to lug around a full photography kit. Even a standard DLSR on it’s own can get bulky whether you’re shooting your kids’ sports teams, dance recitals, out with friends, or even on vacation.
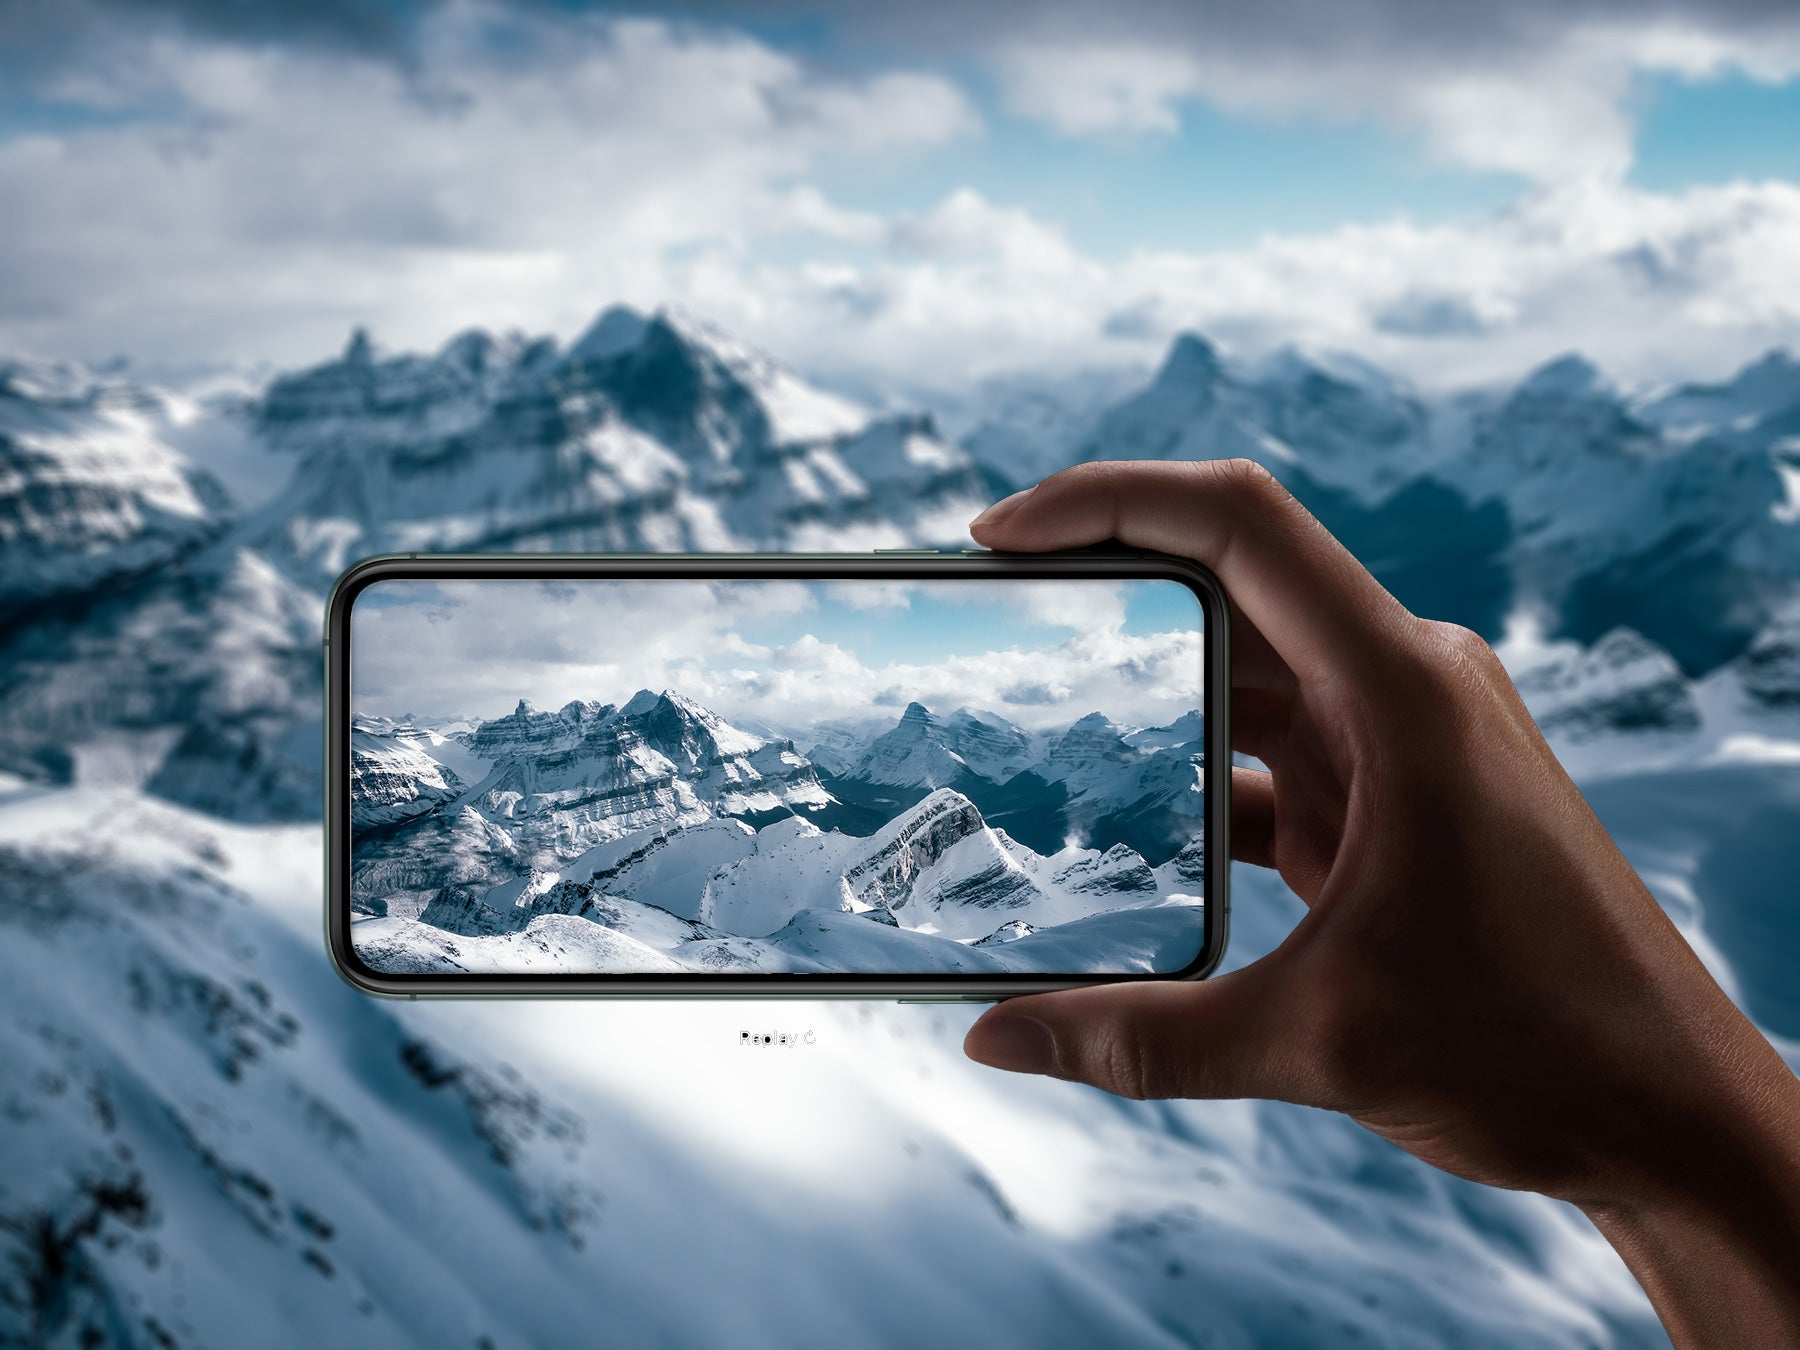
Luckily, we caught up with pro photographer, Sanjay Chauhan (@jayeffex) from Toronto at a recent Lake Louise Pond Hockey Tournament hosted by the Fairmont Chateau Lake Louise. To bring you expert tips on how you can use Apple’s latest iPhone–which is likely already in your back pocket–to always get the perfect shot.
The iPhone is perfect for snapping pictures: It has the necessary hardware, software, and is easy enough for even your grandmother to use. It has it’s limitations, like any camera does, but you can work around most of them by being strategic about your snapping. Here’s Sanjay’s tip he had to share.
Eighty iPhone Camera Secrets to Taking Better Photos
1. Know your light
In photography, good light is everything! Try facing your subject where the light is coming from and avoid harsh noon light. The light right before and after sunrise and sunset, soft and even light, cloudy days are great opportunities to get the best shots.

2. Focus on your subject
You want to get your focus right to avoid your subject looking blurred. You can do this while in the camera app, tap on the screen where you want the focus to be and a yellow box will appear to show where the camera is focusing. You can also adjust the exposure (image brightness) by swiping up or down on the screen. Swipe up to make the image brighter. Or swipe down to make it darker.
3. Consider your perspective
Don’t just point and shoot. There are many ways to make a scene look exciting. You can find leading lines that lead to the subject, or include an interesting foreground to give your scene some depth.

4. Embrace the clouds
You can get some beautiful soft light on overcast days. The clouds act like a giant softbox, so don’t be afraid to go out and photograph!

5. Experiment with reflections
Reflections are great to make a scene look interesting. You can either find a calm body of water, a small puddle, or a reflective surface to make it happen. If you find a small puddle of water, hold your phone upside down and almost touching the water to get perfect reflections! This also works if you find a glass railing or a reflective metal surface.
6. Daytime long exposures
One of the most underrated features of an iPhone is Live photos! You can take pictures of a moving car or a waterfall with Live photo on, swipe up on the image, pick long exposure and you can see the image turn into a long exposure!
7. Use Burst mode for action shots
The best way to capture action shots is with Burst mode because it allows you to capture multiple shots as your subject moves. Just keep your finger pressed down on the shutter button while the subject moves through the scene. Once you’ve taken a set of burst photos, you can then select the best shots from the action sequence


8. Use grids to take straight pictures
Turning on gridlines in your camera settings is a great way to make sure your horizon and any lines (buildings, trees, etc) are straight.
Apple has really stepped it up on this recent release. The key thing, is knowing how to use the features available to you to truly maximize your use of the iPhone 11 Pro. So we asked Sanjay to break down all the features for us — in layman terms of course.
Sanjay’s Favourite iPhone 11 Pro Features:
1. Three Cameras
I love the convenience of having a great quality camera in my pocket and iPhone 11 Pro’s three lenses provide a lot of creative freedom. Having an ultra-wide (13mm), wide (26mm) and a telephoto (52mm) covers most of the focal lengths used by many photographers.
2. Ultrawide lens
Having a 13mm lens unlocks many creative approaches. It’s a good focal length to make smaller space appear big or to emphasize the foreground. In landscape photography, the foreground is seen as an important way to anchor a huge landscape. Get closer to an interesting foreground, tilt your camera down so you can compose the foreground and the background together to create a better composition. You can also take great architectural images using an ultra-wide lens.

3. Telephoto lens
Telephoto lens enables you to get closer to the action. Telephoto also compresses a scene, which makes the background look closer to your subject. It’s a technique a lot of photographers use if your background is too far away and your subject looks small.

4. Portrait mode
Portrait mode takes a picture using either a wide or telephoto lens keeps subjects in focus and blurs the background. It replicates shallow depth of field on DSLR with wide aperture lenses. The best way to get perfect blurred background is to:
• Use telephoto lens
• Have distance between you and your subject
• Have distance between your subject and the background

5. Night mode
Night mode comes on automatically in low light environments, but I also like setting it up on a tripod to get a 30 seconds exposure. It’s an impressive feature because you can easily get sharp images with handheld exposure.

6. QuickTake
During this fast-paced tournament, I loved being able to quickly move from photo to video by holding down the shutter button to automatically take a video of the scene.
So get out there, get that #ShotoniPhone shot, and tag us for a chance to be featured on our social. 😉