

Plant-based milks—made from almonds, oats, cashews, soy, and other seeds or grains—have earned a permanent spot in many kitchens.
People gravitate toward homemade versions for a few recurring reasons: more control over what actually goes into the bottle, better alignment with dietary needs, and a way to sidestep the additives found in some store-bought cartons. Whether the motivation is lactose intolerance, a vegan lifestyle, environmental concerns, or just wanting less added sugar, making plant milk at home is far more approachable than most people assume. Many start with a basic blender recipe, then tweak ratios and techniques over time until they land on something that suits their taste.
This guide walks through preparation methods, nutritional considerations, and equipment options—from simple tools to a nut milk maker—so you can figure out what fits your kitchen and your routine. As always, if you’re managing specific health conditions or dietary restrictions, it’s worth checking with a healthcare professional before making major changes to your diet.
Understanding plant-based milks: what they are and how they differ
Plant-based milk comes together by blending nuts, seeds, grains, or legumes with water, then straining out whatever solid particles remain. Common bases include nut milks (almond, cashew, hazelnut), grain milks (oat, rice), seed milks (hemp, sunflower), and legume milks (soy, pea). Each brings its own flavor, texture, and nutritional profile to the table—nuts tend to lean on healthy fats, grains skew toward carbohydrates, and legumes like soy pack in more protein. For the finer nutritional details, it’s best to rely on established food composition databases rather than casual claims floating around online.
Homemade versus store-bought plant milks differ in several practical ways:
- Ingredients: Homemade milk often contains nothing more than water, the plant ingredient, and maybe a flavoring or two; commercial versions frequently include gums, stabilizers, and preservatives.
- cPlant content: Store-bought nut milks sometimes contain only a small percentage of actual nuts, whereas homemade recipes can use richer ratios—think one cup of nuts to three or four cups of water.
- cFortification: Many commercial products are fortified with calcium and vitamin D, something homemade versions typically lack.
- Shelf life: Pasteurized commercial milk can sit unopened for weeks, while homemade milk generally only lasts a few days in the fridge.
Core methods for making plant-based milk at home
The most common approach is what’s often called the blender-and-strain method. Hard nuts like almonds usually do better after soaking for several hours, or overnight if you can plan ahead—this softens them and can make them easier to digest. Once soaked, blend the nuts with fresh water on high speed for one to two minutes, tossing in optional flavorings like a pinch of salt, a splash of vanilla, or a date for natural sweetness. From there, strain the mixture through a nut milk bag, cheesecloth, or fine-mesh sieve to filter out the pulp. Keeping your equipment clean and refrigerating the finished product promptly matters more than people sometimes realize when it comes to food safety.
Not every plant milk needs this straining step, though. Certain oat milk recipes skip it entirely and turn out thicker as a result. Oat milk can also turn slimy if it’s over-blended or exposed to heat during processing, so sticking with cold water and shorter blending times tends to help. High-speed blenders or dedicated appliances can pulverize ingredients finely enough that straining becomes optional altogether, though results still vary depending on the ingredient and your own preference.
Equipment options: from basic tools to specialized appliances
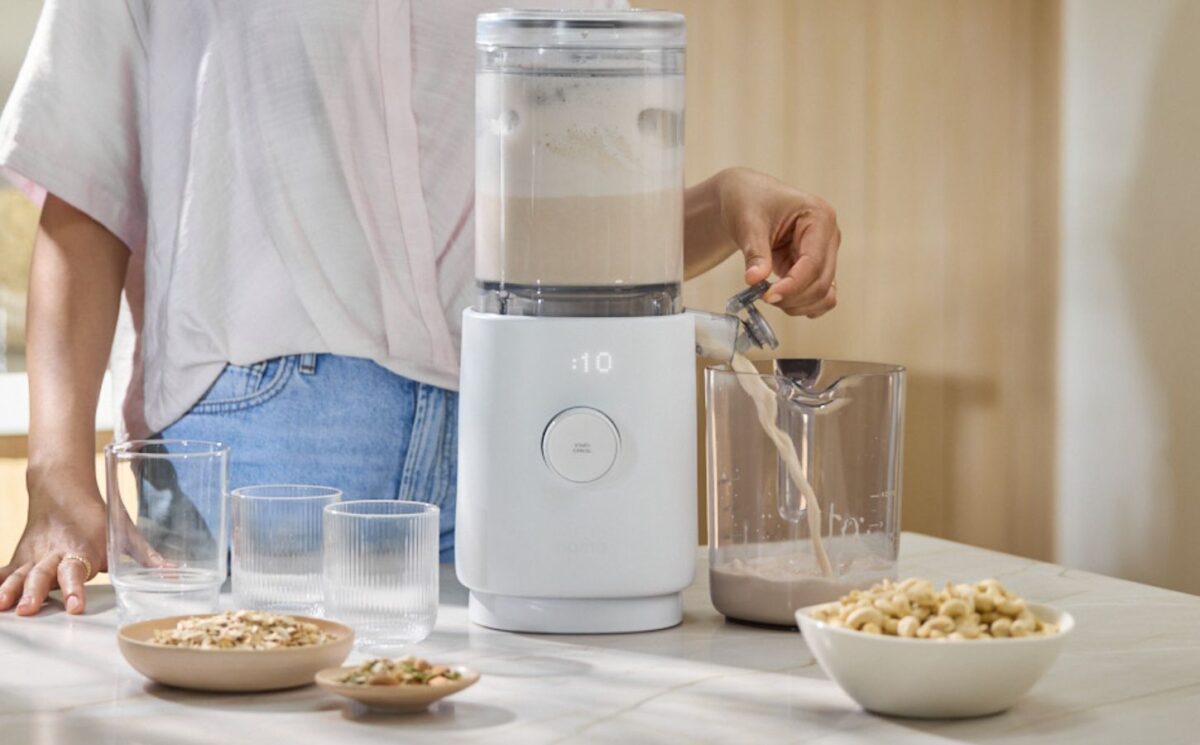
A blender and a straining cloth are really all most people need to get started, though some home cooks prefer a more streamlined setup. Beyond the basic blender-and-bag combo, some choose a dedicated nut milk maker that combines soaking, blending, and straining into a single, controlled process. This is just one example of how kitchen equipment choices tend to come down to convenience rather than necessity.
For most beginners, a standard blender or food processor, a nut milk bag or fine sieve, and a few glass storage containers cover everything you need. Dedicated plant-milk appliances can automate steps like heating or straining and often produce more consistent results, but they come with added cost and take up counter space. Whether simple tools or a specialized device make more sense for you really depends on your budget, your kitchen space, and how often you actually plan to make plant milk.
Nutritional considerations and common myths
Homemade nut milks generally deliver healthy fats, modest amounts of protein, and minerals like magnesium and potassium, while grain and legume milks differ in their carbohydrate and protein content. The nut-to-water ratio plays a big role in both texture and nutrient density—richer ratios produce creamier milk with more nutrients packed in, while lighter ratios work better for things like coffee or cereal.
It’s also worth understanding anti-nutrients such as phytates, which can interfere with mineral absorption; soaking nuts and seeds beforehand can help reduce this effect. Store-bought milks often rely on additives like gums or emulsifiers for texture and shelf stability—generally considered safe for most people, though some individuals may notice sensitivities to them. A common misconception is that homemade plant milk is automatically the healthier choice; in reality, it comes down to fortification, preparation method, and your overall diet.
Practical tips for safe preparation and storage
Refrigerate homemade plant milks right away in covered glass containers, and try to use them within three to four days. Keep an eye out for spoilage signs—off smells, separation, or mold—and when in doubt, toss it out. Recipes can also be adjusted for dietary needs: add more water for a lighter, lower-calorie version, or swap in seeds and grains if nut allergies are a concern.
Bringing it all together
Homemade plant-based milks offer flexibility, ingredient control, and plenty of room to experiment, whether you’re working with basic tools or a specialized appliance. Paying attention to safe storage, keeping nutritional expectations realistic, and factoring in your own preferences will help you settle on an approach that actually fits your routine.