
Cleaning up raw footage into neat cuts is integral in getting your videos to appear neat, tidy, and professional.
Without editing, the best footage can feel unsystematic and confusing to watch. The CapCut Desktop Video Editor is ideal for this. It makes it convenient for you to trim, cut, and edit your videos. Although the standard features are available for free, some of the advanced features, such as special effects and additional filters, need to be paid for.
But don’t panic – you can still create great videos with the free version. This software is perfect for beginners and those who need to improve their editing without breaking the bank.
Why Clean Cuts Matter When Editing Videos
Clean cuts mean the removal of the parts of the video that are not worth it. Trimming out the excess footage and keeping only the best remaining is what it’s all about.
In video editing, making smooth transitions between clips is crucial. It helps the video flow naturally and keeps the viewer’s attention.
If there are awkward jumps or unwanted scenes, it can feel jarring and distract from the story you’re trying to tell. Editing raw footage is essential to imparting a professional touch to your video.
Tight cuts make the pacing perfect so that the video does not linger or move at breakneck speeds. It keeps your viewers focused and interested.
You can even use tools like text to speech to improve narration and sync your audio with visuals. This makes the video even more polished and engaging, holding the viewer’s attention and interest throughout.
Features in CapCut PC That Help You Fine-Tune Every Clip
When working with raw footage, shaky footage, lighting changes, or unmatched audio, these are typical. CapCut Desktop Video Editor gives you tools to fix these in a jiffy.
You can crop or resize the frame, equalize colors, and remove noise easily. These help you clean up each clip before you put everything together.
CapCut PC also makes it easy to make better visuals fit into the background voiceover or music. If a scene feels too flat or choppy, you simply adjust the speed to feel proper.
To go one step further, the AI video generator helps you add creative touches like cutaway shots or dynamic scenes when your raw recording feels slightly dull.
All these tools let you polish every feature of your video and give it a professional edge, without asking for much editing experience.
Step-by-Step Manual on Refining Raw Footage
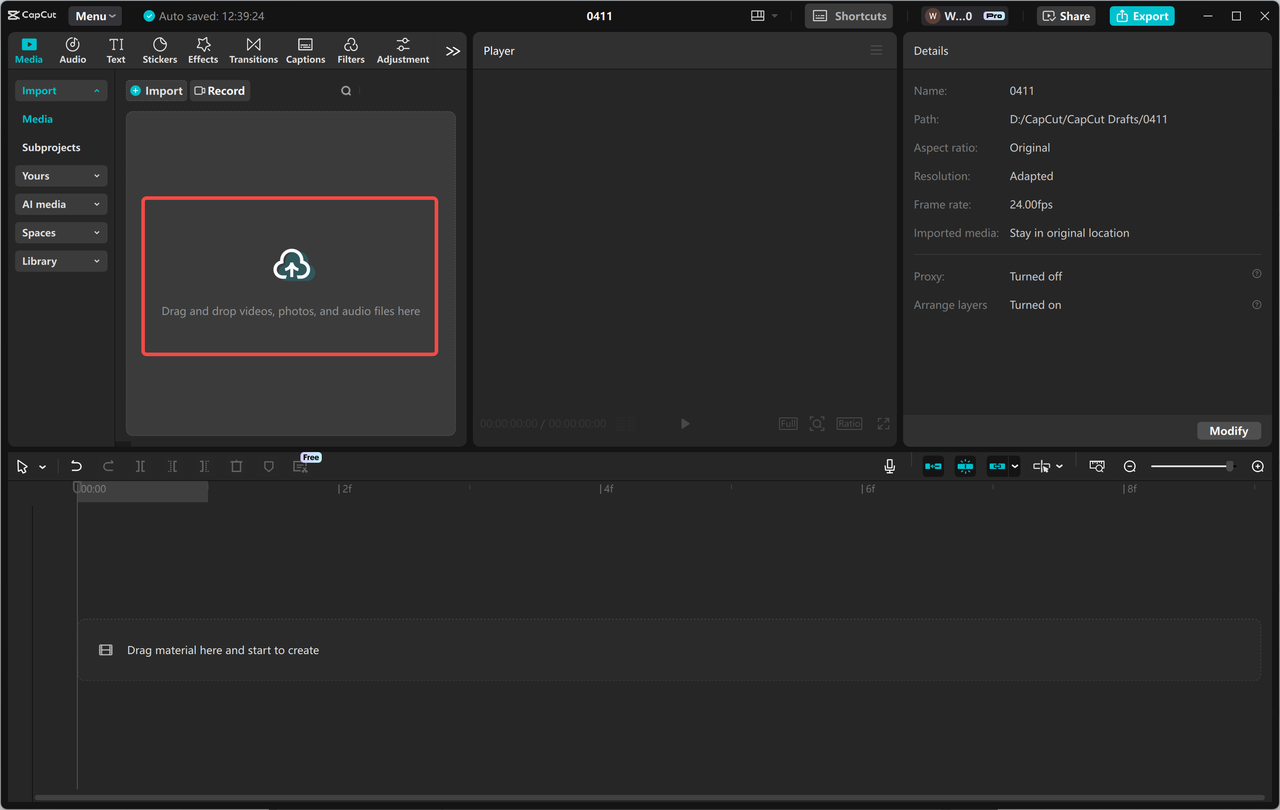
Step 1: Importing Raw Footage
Download CapCut Desktop Video Editor from the CapCut official website and install it in your computer. Once installed, open the software and select the ‘Import’ option.
Select the video files you wish to edit and upload them into the project. This will allow you to start editing your raw footage right away.
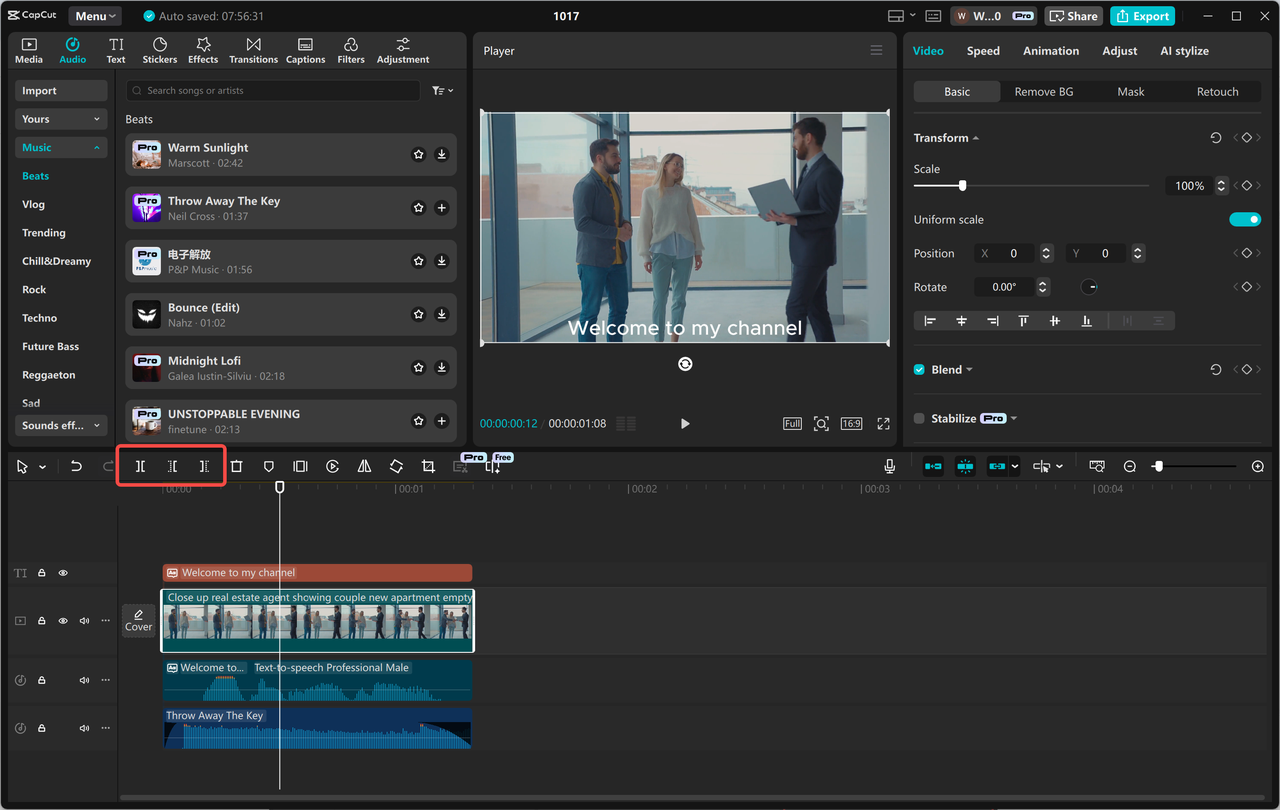
Step 2: Cutting and Trimming Raw Footage
Lastly, trim unwanted clips or segments using the trimming features of CapCut. Trim clips manually by moving their edges, or set in and out points to have finer control.
This gets rid of unwanted video while keeping the best of the video. Tightening up the start and end of every clip makes you get the perfect cuts from one clip to the next.
You can also utilize the voice changer feature if needed to balance audio levels and make sure that the voiceover or background sound is heard and even throughout the video.
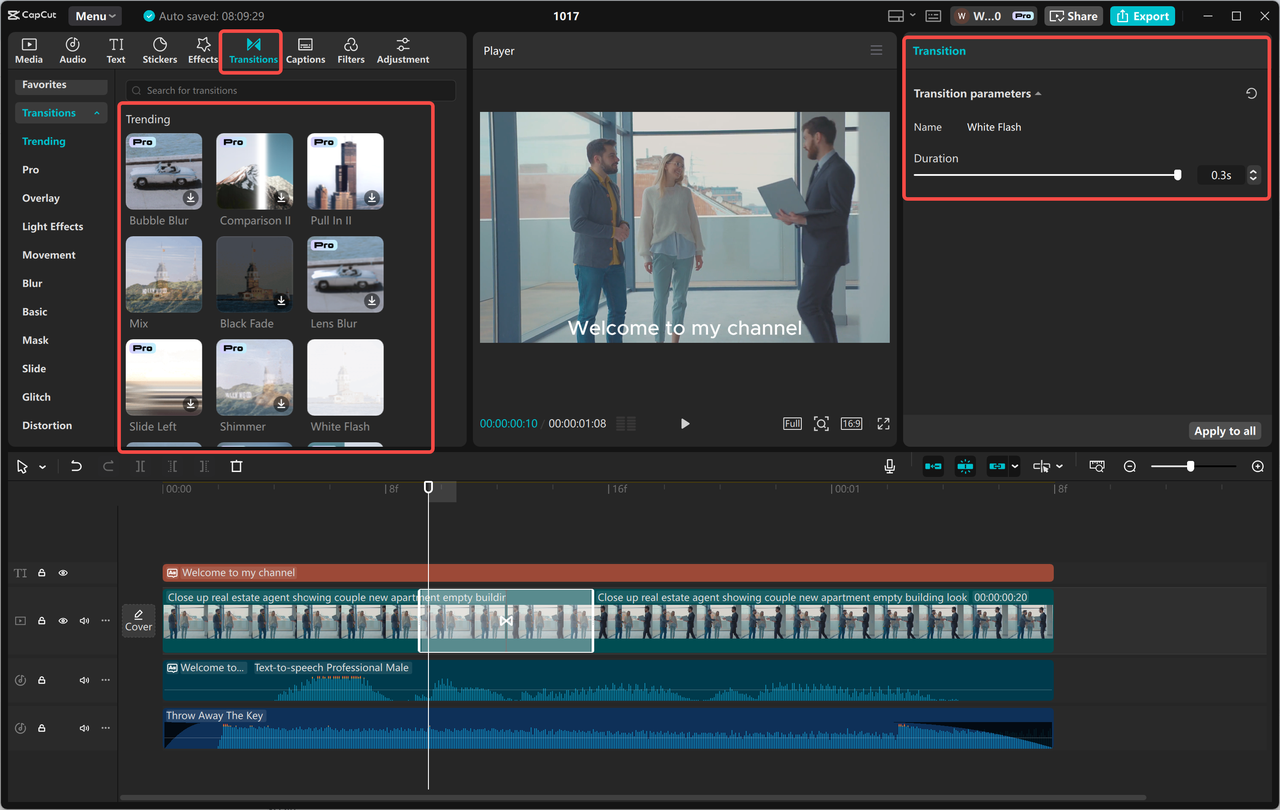
Step 3: Adding Transitions for Smooth Edits
To make your video flow smoothly, use transitions from CapCut. These transitions can be used between videos to make a smooth transition from one scene to another.
Transitions like fades, slides, or wipes are suited for most types of videos. Different types of transitions can establish the tone of your video and determine the pace.
Use them judiciously to make the transitions appear natural and engage the audience.
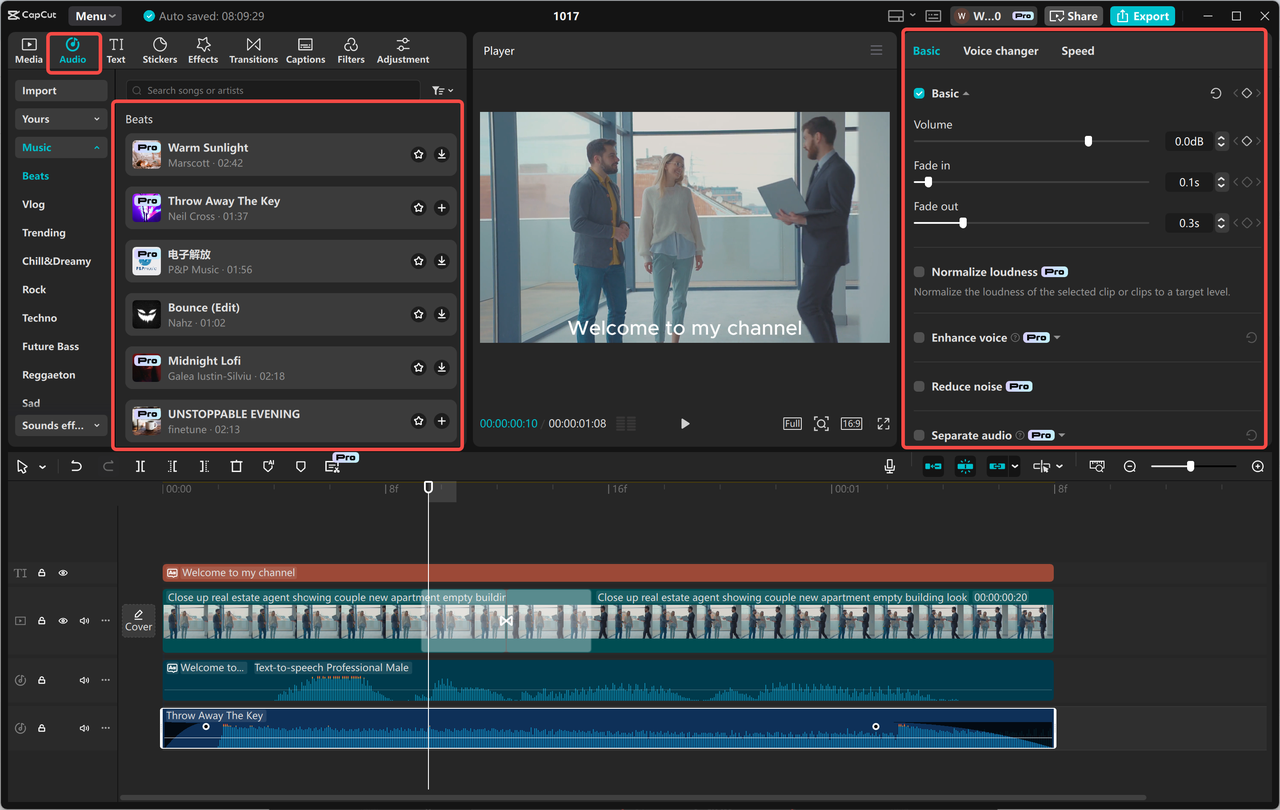
Step 4: Audio and Visual Fine-Tuning
Fine-tune the audio levels to make the sound consistent in the video. You can also remove the background noise to have a clearer sound.
For the visuals, fine-tune the brightness, contrast, and saturation for the best-quality of the video. This will make your video brighter and neater, setting it apart from others.
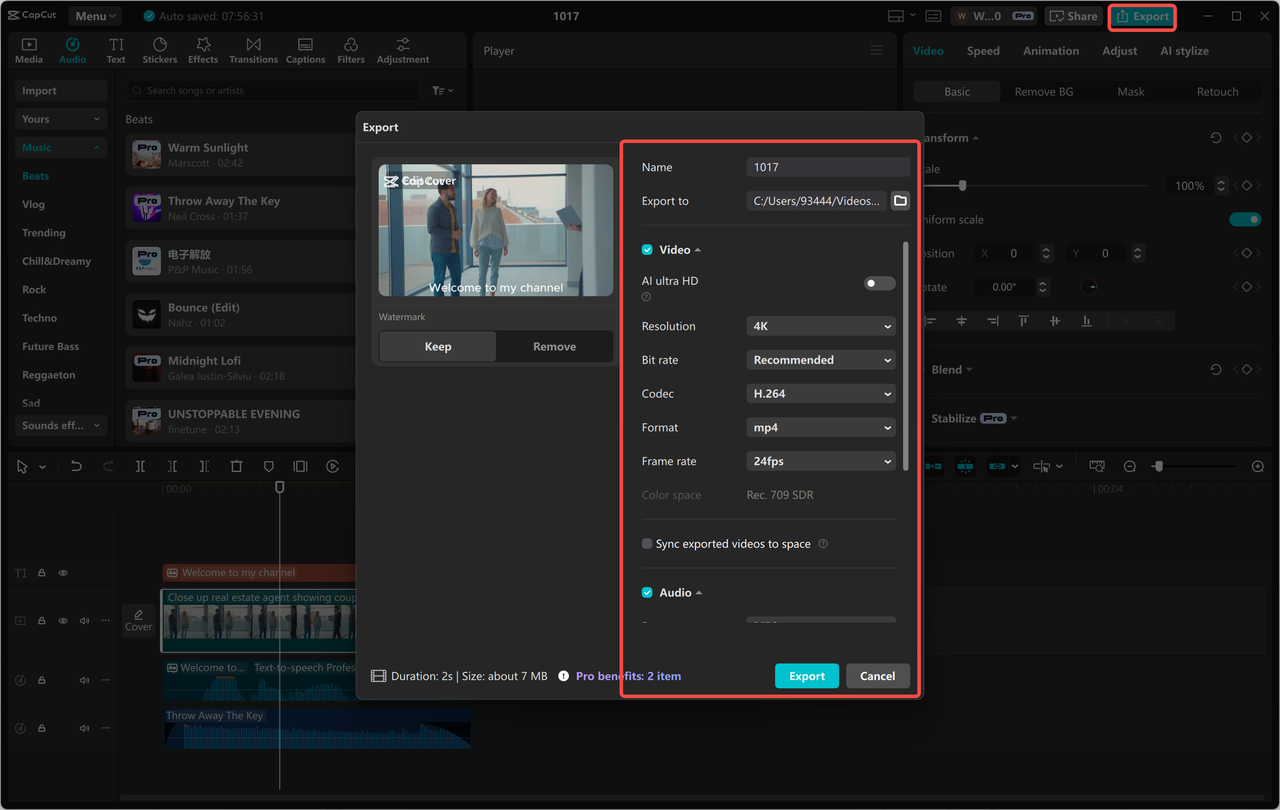
Step 5: Exporting Your Video
Once you’re done with the changes, it’s time to export the video.
Go to the ‘Export’ option in CapCut Desktop Video Editor, set your resolution and output format, and save the final product to your computer.
Conclusion
CapCut Desktop Video Editor is a great app for turning raw shots into clean, crisp video cuts. It offers you basic tools that are accessible even if you’re a first-timer when it comes to editing.
From trimming and cutting to smooth transitions, it assists in building your video step by step. You may also refine sound and visuals to suit your taste.
If you require more, premium features add extra value for a small cost. Whether you edit for work or for fun, CapCut PC gives you what you want to make your video look awesome and feel professional with less effort.