If you’re looking for a simple and cost effective way of improving your night riding experience, LED strip lights are the answer. You have likely come across this cool automotive aesthetic before, and it creates colorful, exciting spectacles on the highway.
You may have found yourself wishing for lights of your own, but popular opinion has it that installing LED lights can be a bit challenging. Below, we’ll be taking you through the simple process of installing LED strip lights, but first let’s learn a little more about what they are
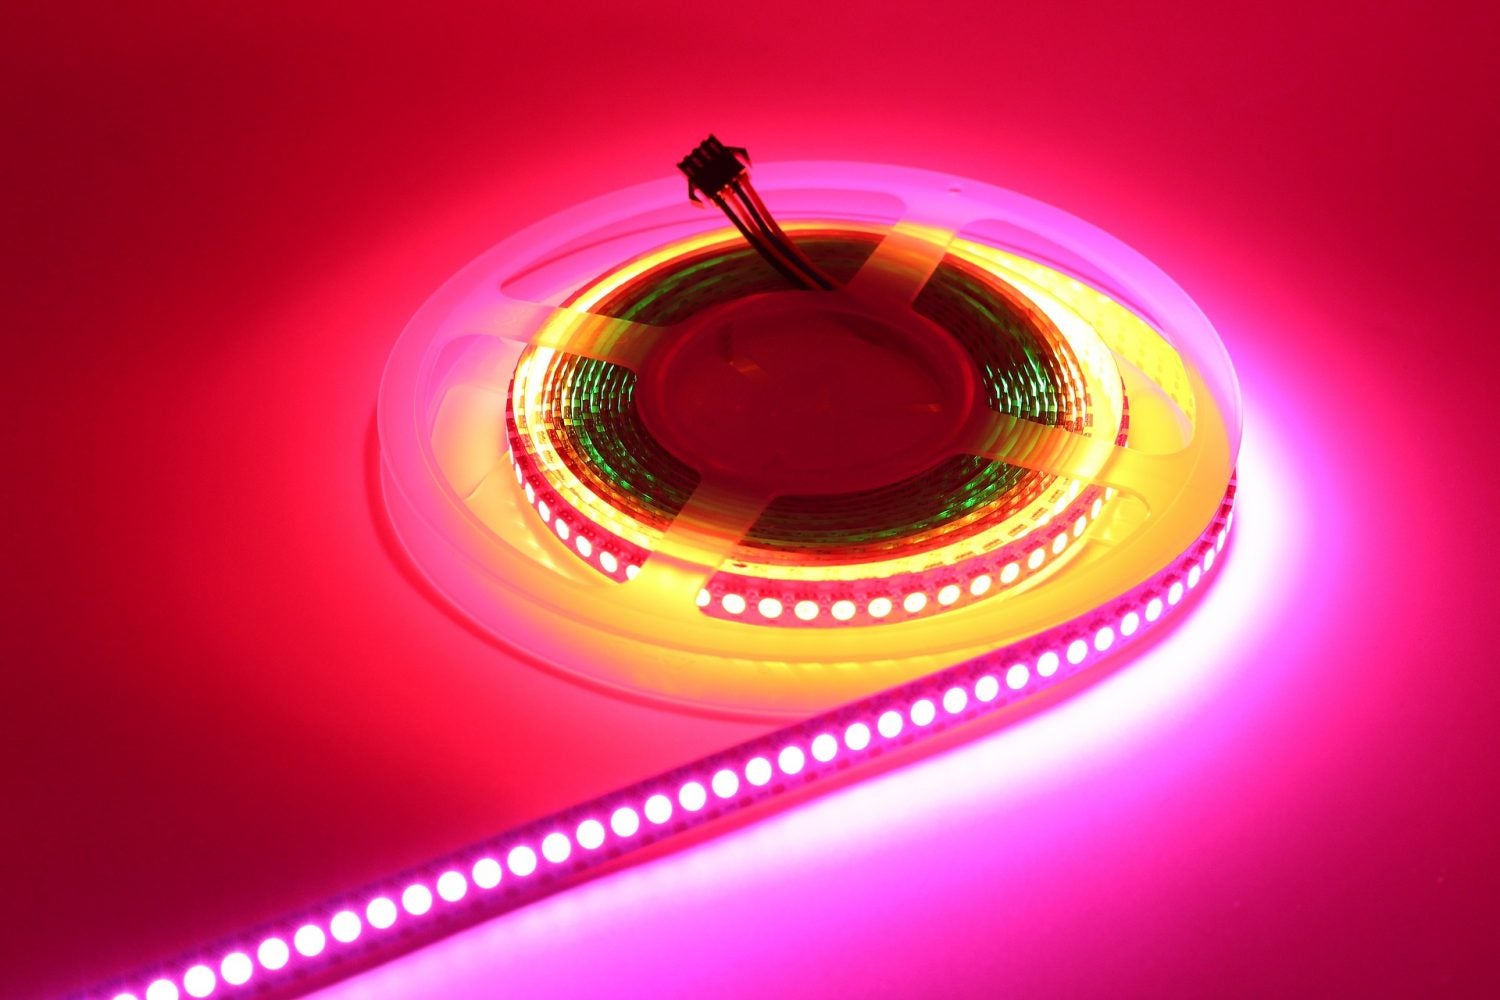
What are LED Strip Lights
LED underglows are a type of ground effect lighting where light is attached to the underside of a car, illuminating the surface underneath it. LED underglows can be a single color or multiple colors, and they sometimes have strobe effects.
According to XK Glow, LED strips are the easiest to install and most flexible to attach to any part of the car underside, unlike other underglow styles like LED tubes and LED pods. Some of these underglows even respond to music and can act as brake lights. This can be via an RF remote or a Bluetooth control.
Five Steps for Installing LED Strip Lights
1. The first step is to jack up the car with a hydraulic jack. This allows you more access to the vehicle underside. Here, it’s also important that you have a washcloth on standby to clean any mud or dirt that could get your LED strips dirty.
2. Place the LED strip under your car. Confirm whether your car underside has small openings, bolts or brackets where you canattach your LED strips. Use zip ties to secure your LED strips to these spaces.
It’s a great idea to use zip ties every 12 inches, as double-sided tape won’t be thick enough to permanently attach the strip. If you can, get someone to hold the strip for you while you attach it. Another option is to temporarily secure the strip in place with double sided tape, then use zip ties on them to make the attachment permanent.
3. Extend the LED wires. Connect the four wires up your engine bay and attach to the modular box. In a case where the LED strip wiring on your rear bumper isn’t long enough to attach to the frontal area of the vehicle, try using some of the extension wires in your LED strip light package.
4. Get the red wire attached to the battery positive and the black wire to ground or negative. You should also look out for optional wires, just in case. If in doubt, you should check the strip lights manual to confirm what they’re for.
5. The module box should sit close to your battery, but prevent it from touching your engine. Always place your module box in a dry place. The fuse or battery box is customized to be dry, which means there’s no need worrying about causing damage to your module box. To get stronger reception even when the hood closes, remember to extend your module box antenna.
Having done all these, the final step is to test the installation. If you followed these five steps, you can rest assured you’ll have your LED strip light up and running.