Our appliances always seem to give out at the worst possible time. If you are experiencing a record-breaking heatwave, you can be sure that is the one time your air conditioning will choose to give up the ghost. Some aspects of air conditioning repair should only be attempted by a professional, but there are some easy fixes that require just a few minutes of your time and minimal tools. Before you pick up the phone to dial your local air conditioner repair company, try these steps that may help you fix the problem yourself. If the repair looks like it might become more involved and costly, consult your home warranty plan to help cover a portion of it.
Indoors
Before you get into troubleshooting that requires more effort and tools, you will first want to run through a checklist that you can complete indoors.
1. Check the Circuit Breaker
If your circuit gets overloaded, it can cause your breaker to trip and your air conditioning will not run until you reset the breaker. The first thing you should do is locate your breaker panel and find the switch for your air conditioning. If it’s tripped, reset it and your air conditioner will begin working. If it happens again, you may have a bigger problem and should call in a professional to diagnose the problem.
2. Examine Vents
If your house feels stuffy and you aren’t feeling any airflow, sometimes the problem is as simple as checking all registers to make sure they are open. If a member of the household closed a register and forgot to reopen it, it’s a cheap, easy fix.
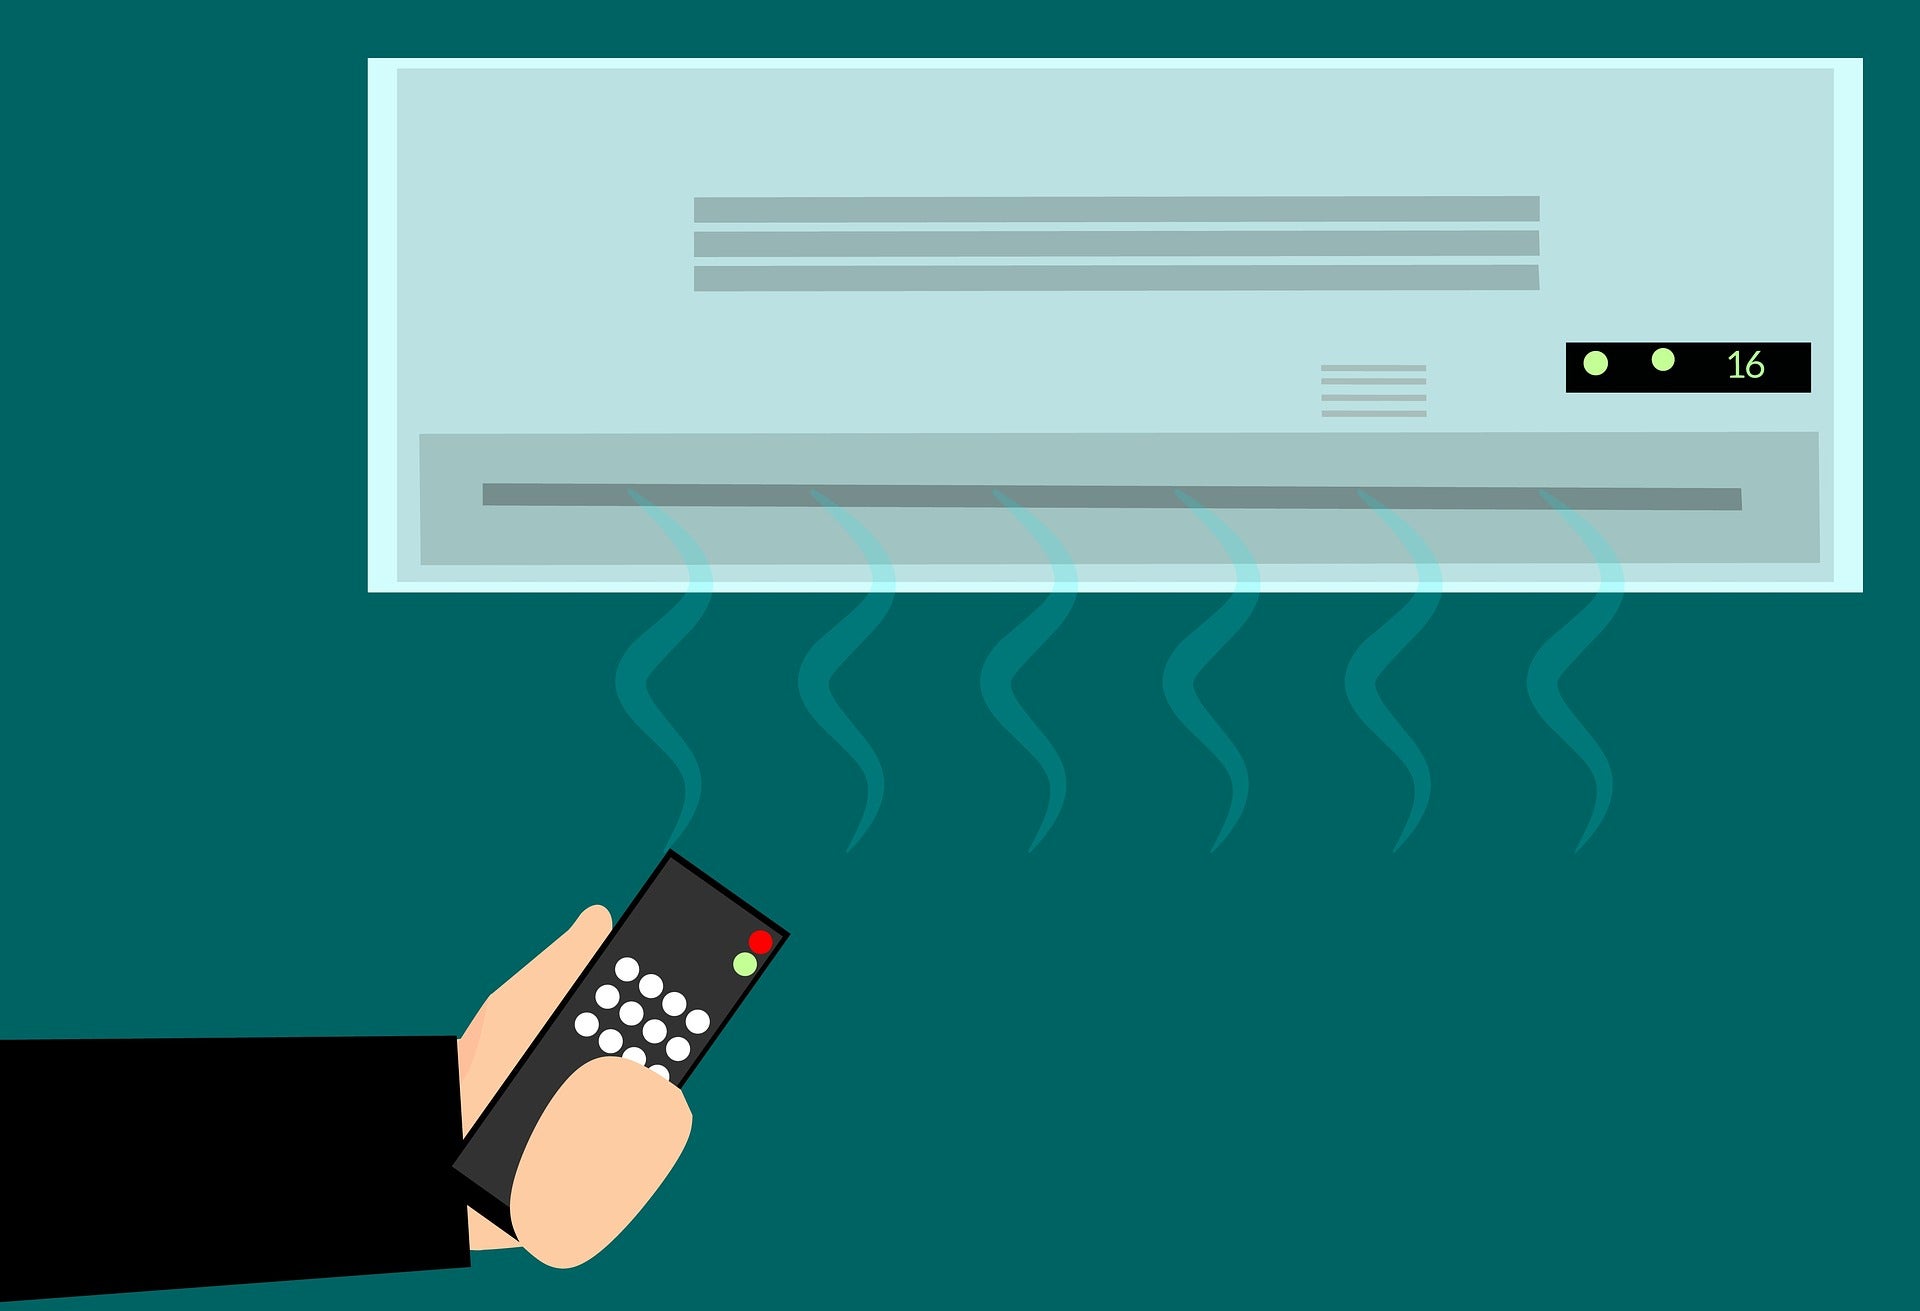
3. Check the Thermostat
The problem with your air conditioning could be a malfunctioning thermostat. Check to make sure your thermostat display is on. If it’s not, replace the batteries or examine the wiring. Faulty wiring can cause your thermostat to cycle on and off irregularly, meaning your home will not cool efficiently. Before tinkering with thermostat wiring, cut the power from the circuit breaker to be sure you are working as safely as possible.
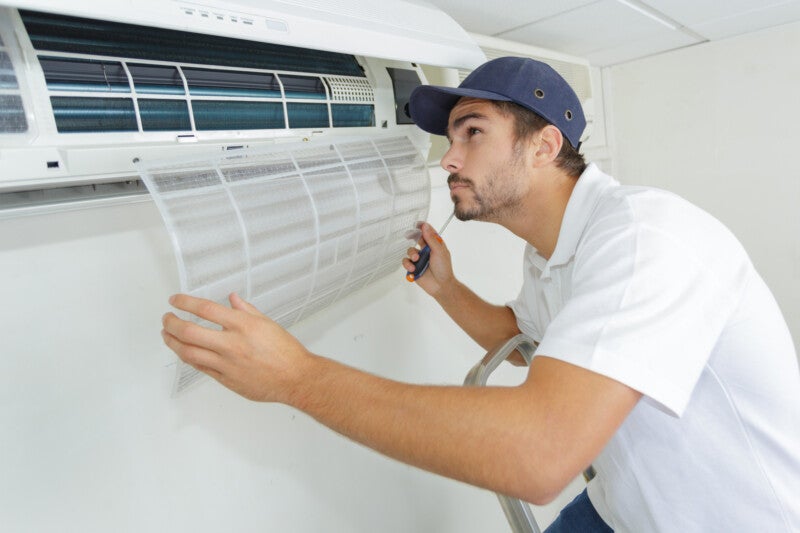
4. Replace Filters
Once you have ruled out the thermostat as an issue, your next step would be to check for clogged or dirty filters. Experts recommend changing out your air filters once every 90 days. If your filters are way overdue for replacement, it can severely affect your airflow. Most homes have filters located around the intake vents as well as one at the furnace. Check all filters and replace any dirty ones. Cheap filters may need to be changed as often as every 30 days.
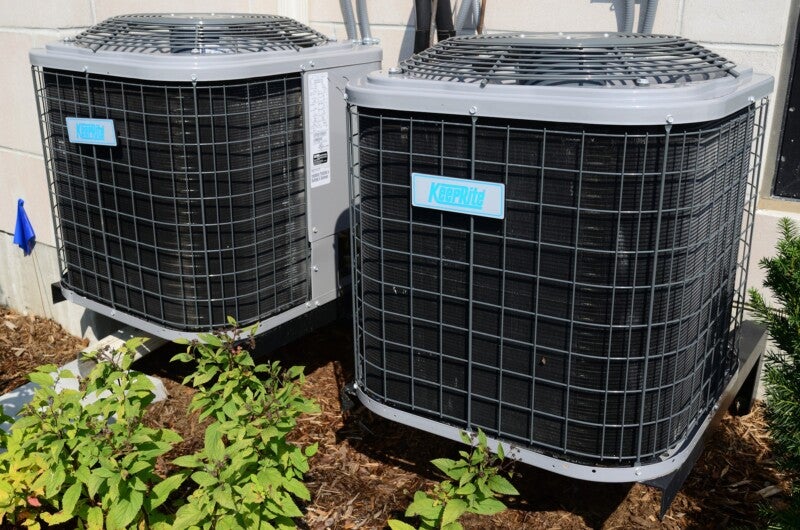
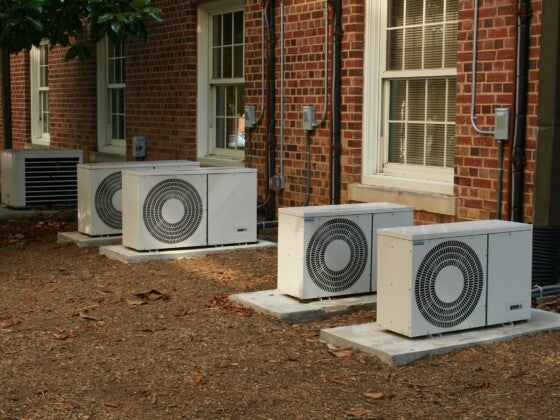
Outdoors
If after you complete the above troubleshooting methods and your air conditioning is still not working properly, it’s time to go outside and take a look at your unit. These steps will help you determine if there is a problem with your air conditioning unit that you can repair yourself.
1. Check the Fan
If you get out to your air conditioning unit and find the fan isn’t working, there are a few things you can check. The fan motor may be shot, your relay board may not be working or your capacitor may be burned out. Before you begin examining any parts in your unit, be sure to turn the power off by flipping the breaker switch to the off position. If you turn the fan motor by hand and it’s resistant, your bearings will need to be replaced. Examine all wiring to be sure it’s in good condition. You can check if the fan capacitor is working with a multimeter.
2. Inspect the Lines
If the fan is working, your next area of concern is the air conditioner lines. Sometimes the lines freeze up, meaning the air will not be properly cool. Turning your air conditioner off for a few hours may be enough to solve this problem. If you turn it back on and the lines begin to freeze again or do not feel cool to the touch, you have a refrigerant problem. These problems should only be handled by professionals.
3. Is the Unit Clean?
Sometimes the problem is accumulated dirt clogging the condenser coils. This is an easy fix you can do in a few minutes. Grab a bottle of grease-cutting dish soap, a spray bottle and your hose. Be sure to cut the power to your unit before you begin. Give the unit a quick initial rinse with your hose. Mix your dish soap with half water in the spray bottle and generously coat the outside of the unit. After a few minutes, use sharp blasts to wash the soap and debris away aiming your hose in all different directions to give the coils a thorough cleaning.
4. Look for Leaks
If a leak is bad enough, you may be able to spot it right away. If you suspect a leak you can’t see, you can usually find it with the soap bubble trick. Fill a spray bottle with soap and water and generously spray it all over. Any areas where bubbles appear indicate a leak. Leaks are not a problem that you can fix yourself and require a professional. So, you have checked all the possible steps that you can do yourself, right? if you didn’t get the reason, then you may contact here (https://totalhvacservice.com/apple-valley-ca/) for a quick fixation
Many air conditioning problems require simple fixes that you can do yourself after a quick diagnosis. If your problem is more complicated, it’s in your best interest to call an HVAC repair company.